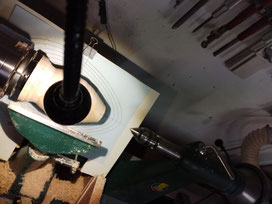
The shadow board technique is very simple to follow, You start off by turning a blank. The size is not important. For this egg I rounded the wood between centres and then added a spigot at one end to mount it in my chuck. Then I attached the shadow board "jig" to the lathe and inserted the actual board. (images for this can be found here).
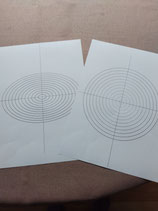
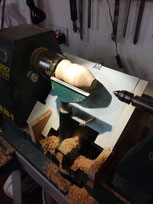
With the jig attached I put the blank into the chuck and selected the template to be used (the Egg). This was clipped to the shadow board using an office file clip. I then roughly turned the blank to shape.

Getting an initial shape on the wood allowed for easily centring the template behind the blank relative to where I was standing and importantly to the light that was casting the shadow. Note there are more accurate ways to centre the template, this one was just quicker.
To centre the template I made a mark on the blank and rotated it so to be vertically above the paper (NOT the lathe bed ) . It was then a case of adjusting the paper so that it square to the top of the shadow board and moving it up and down until the horizontal line on the paper coincided with the mark on the wood.
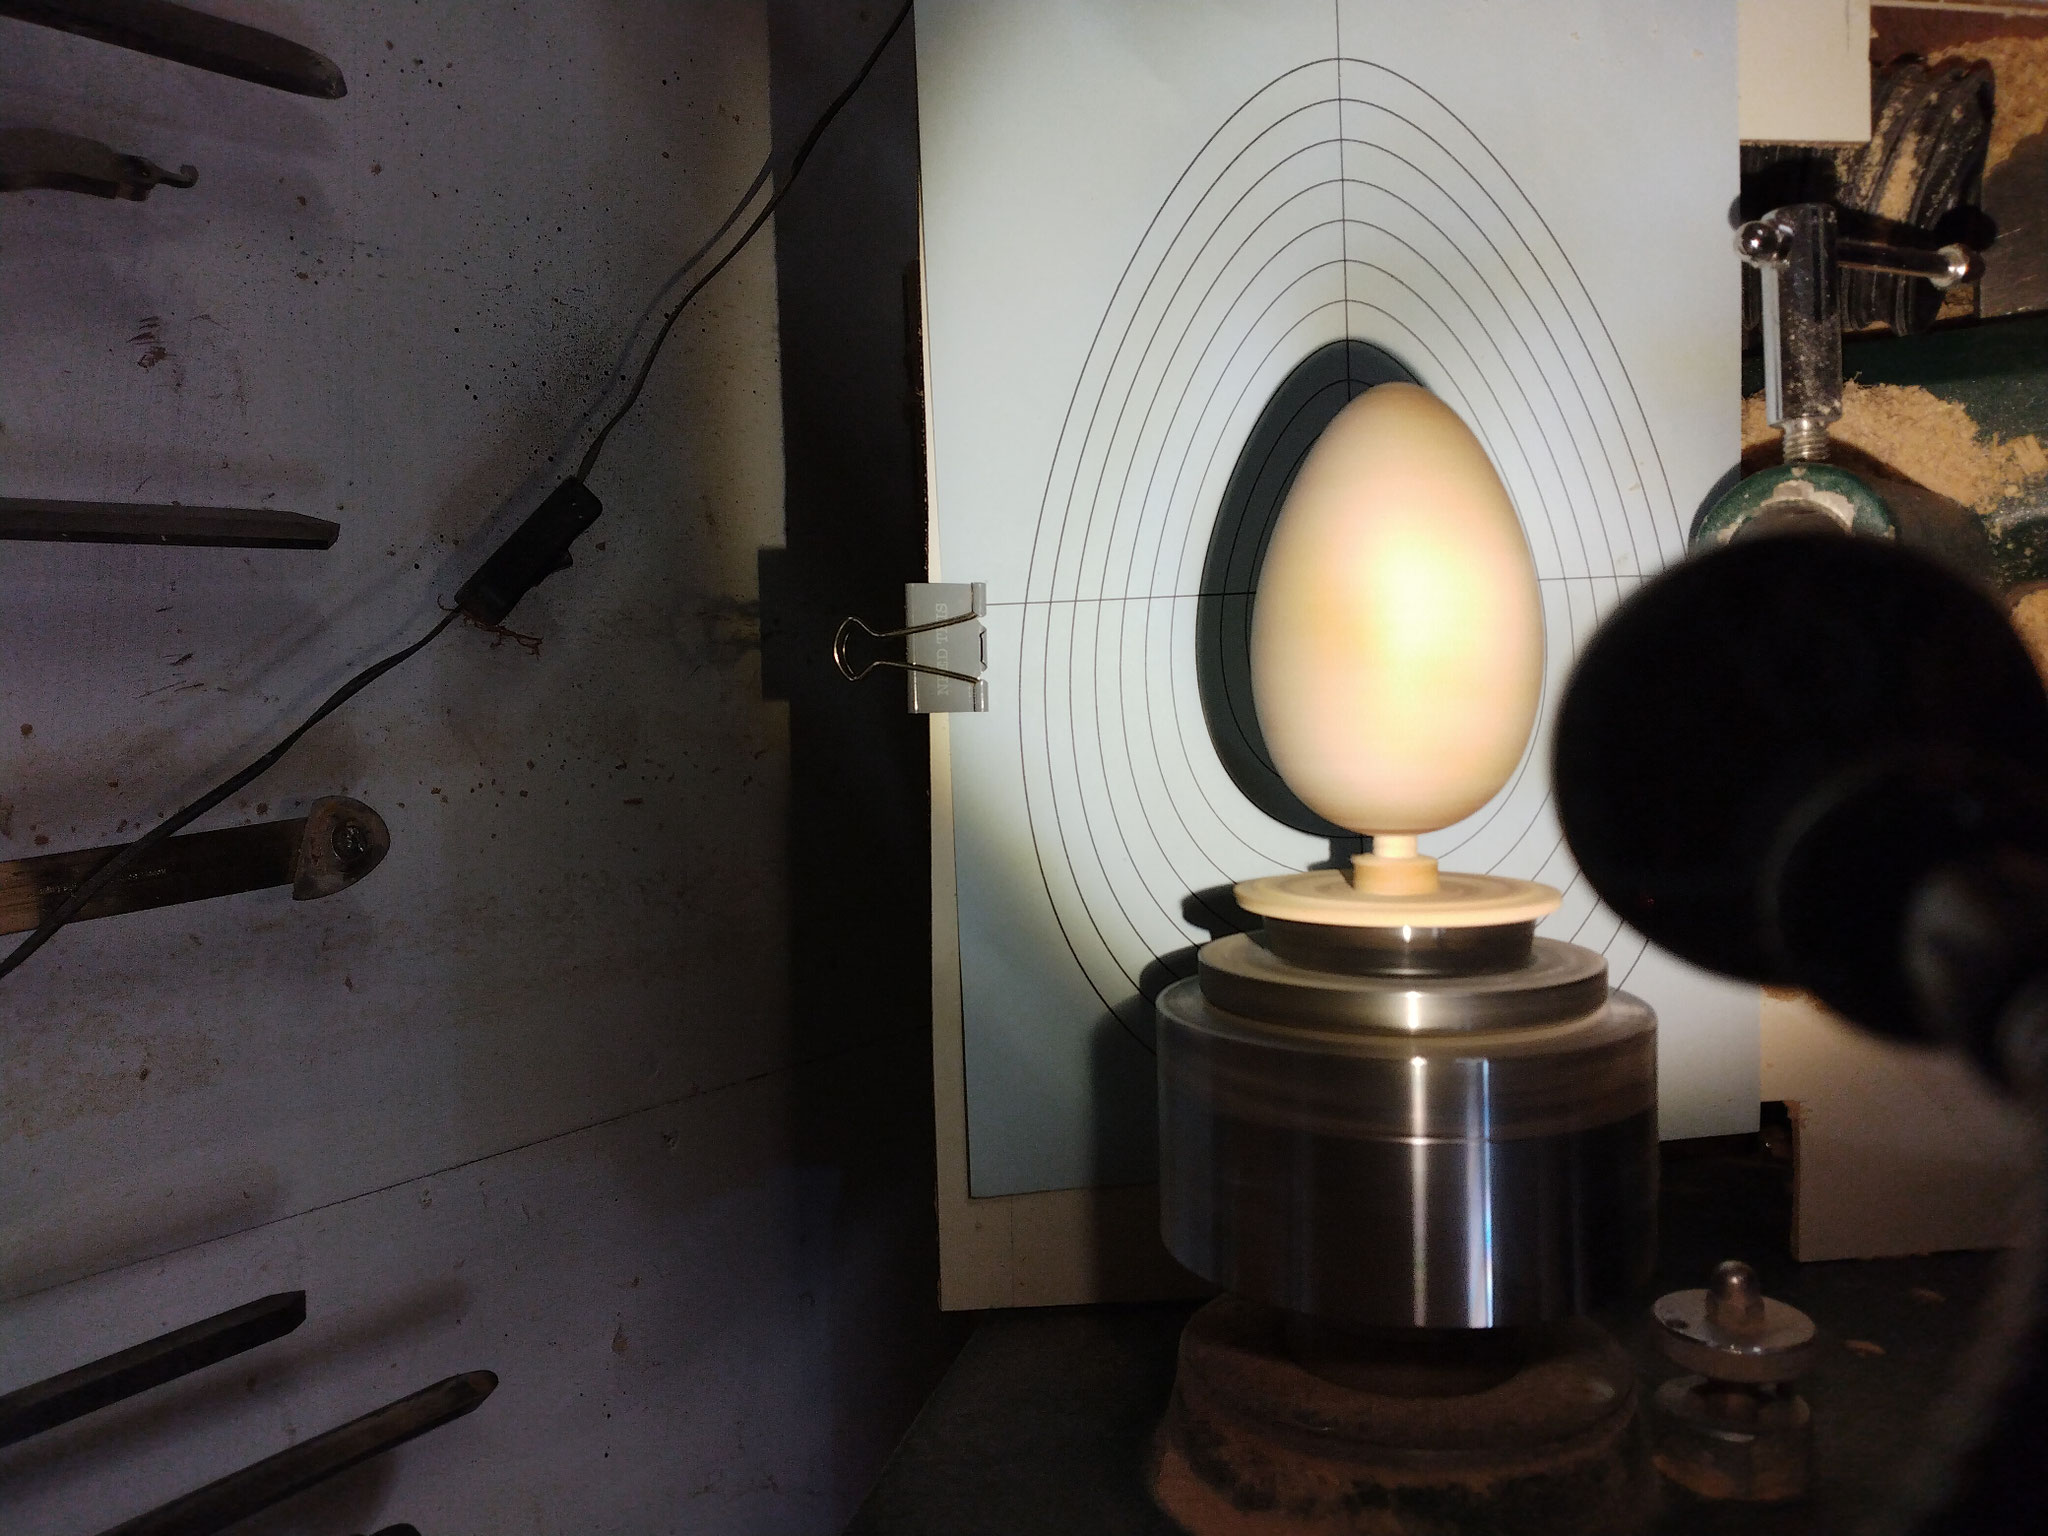
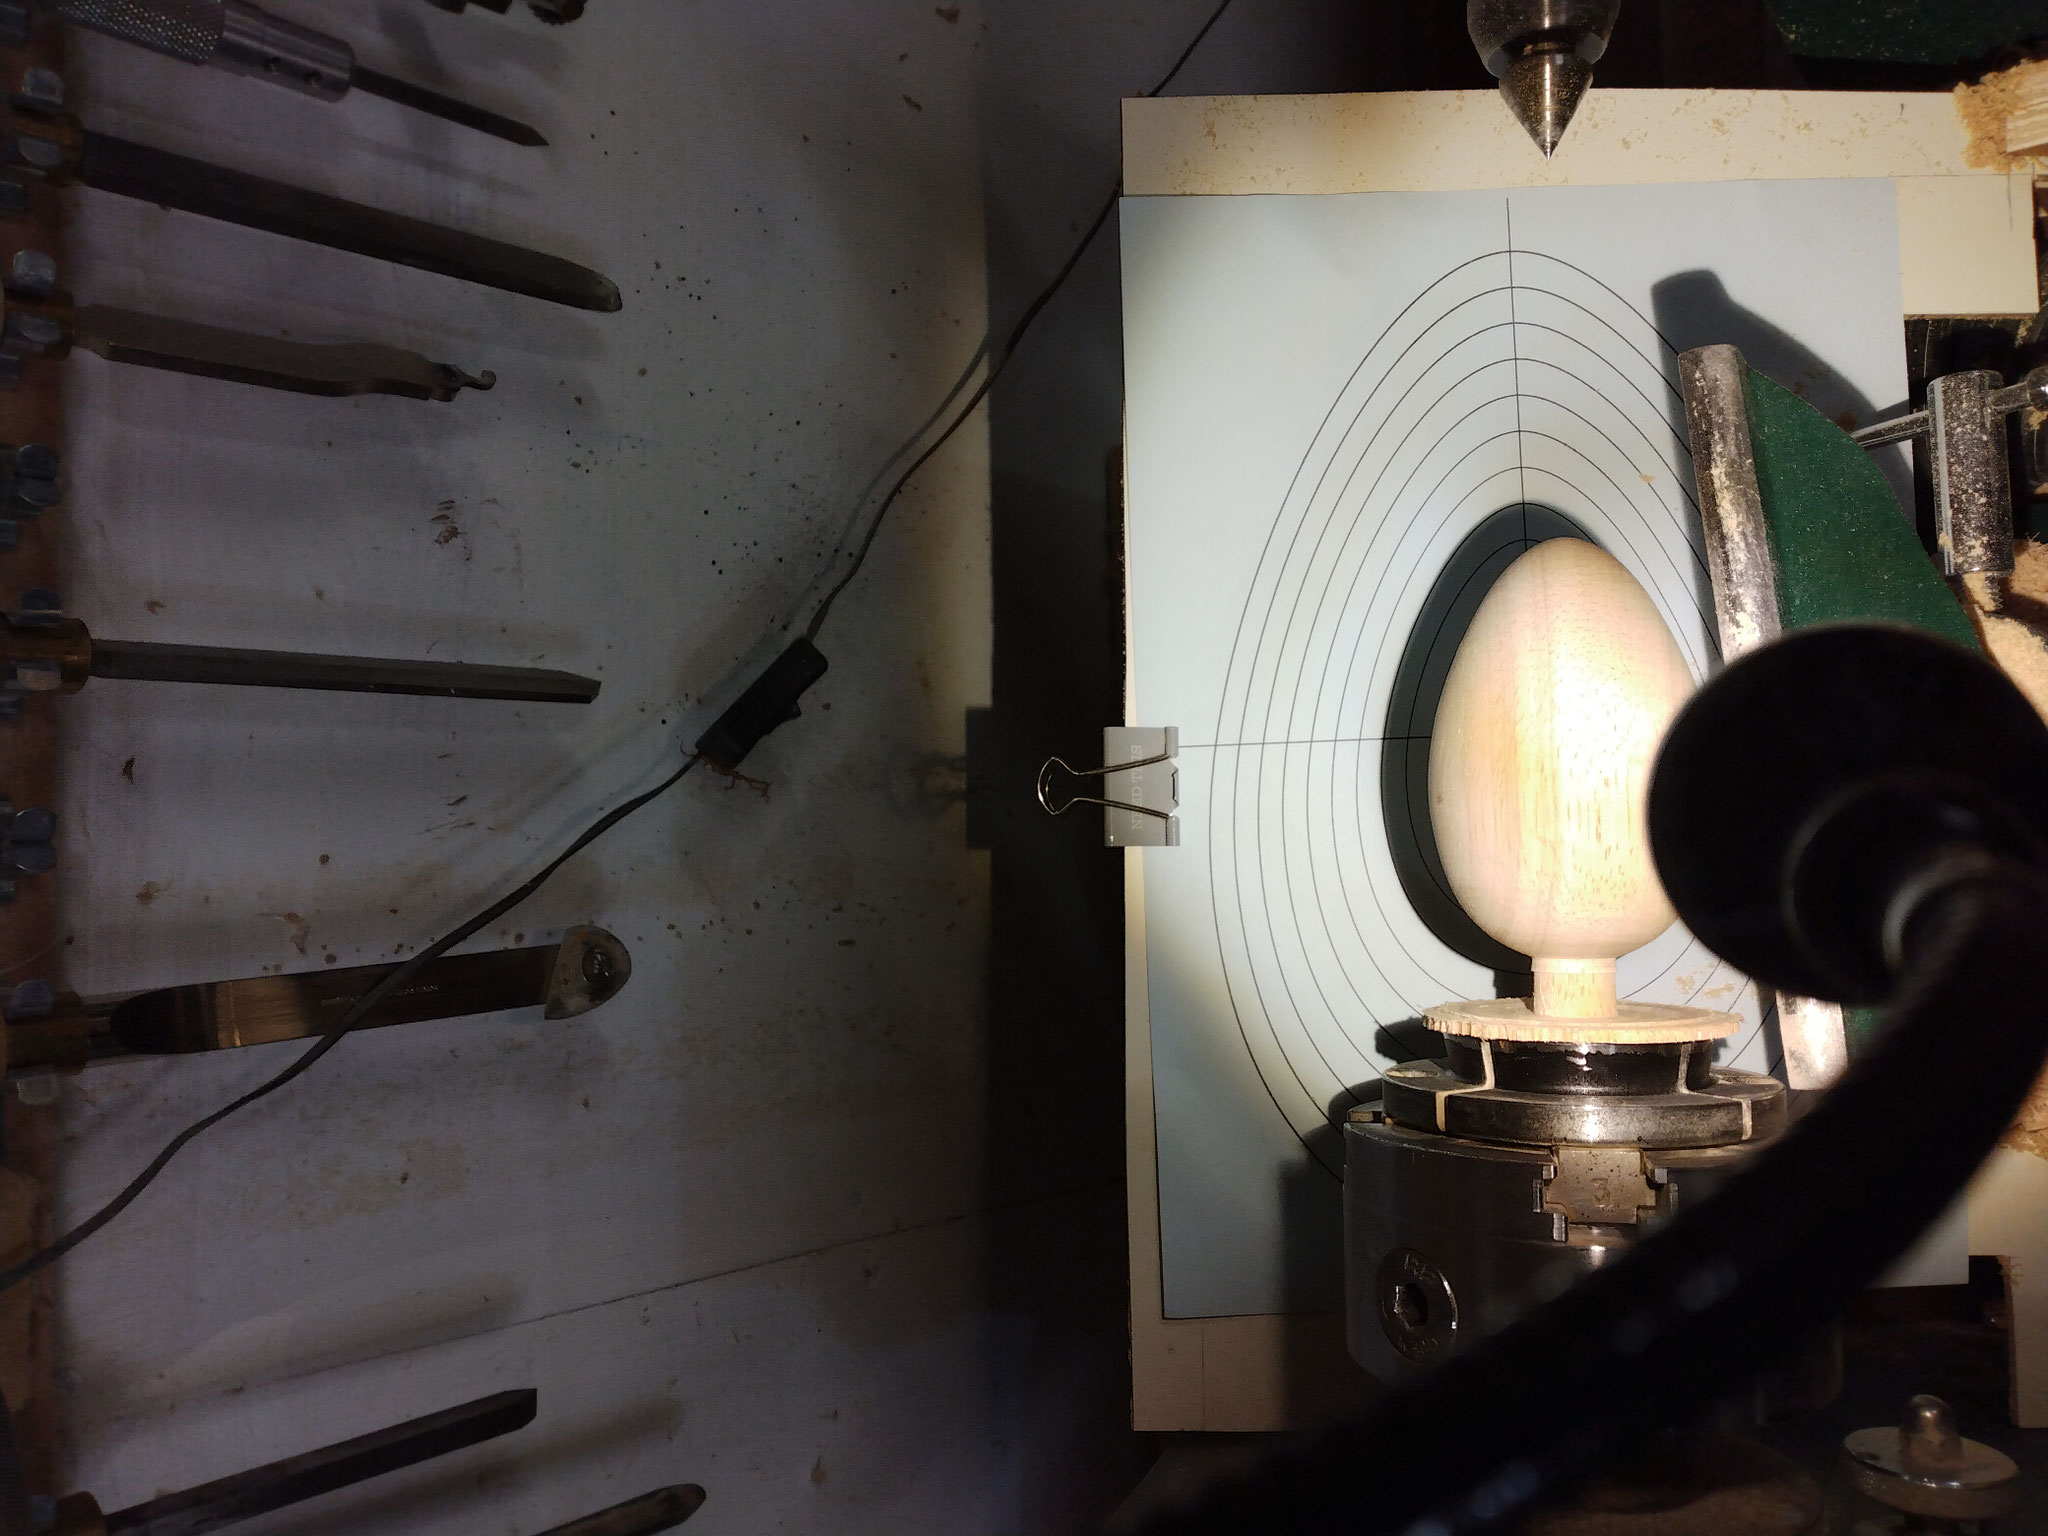


The light casting the shadow must be a single source, I used a cheap LED lamp I got from IKEA that I have mounted on the wall behind the lathe, and extends out and over the lathe. At present its quite close to the lathe and could do with moving higher so as to cast a smaller shadow on the paper.
The distance the light is away from the wood has an effect on the size of the turned piece relative to the size of the shadow on the template. i.e. the further away you can get the light the tighter the shadow will be to the wood and the more closely the finished egg will to the size of the template ring you turn to. That might sound a little confusing, but will become clear with the first time you try this technique. There is also a formula for calculating distance and template sizes which I will add to this page when I can find it.

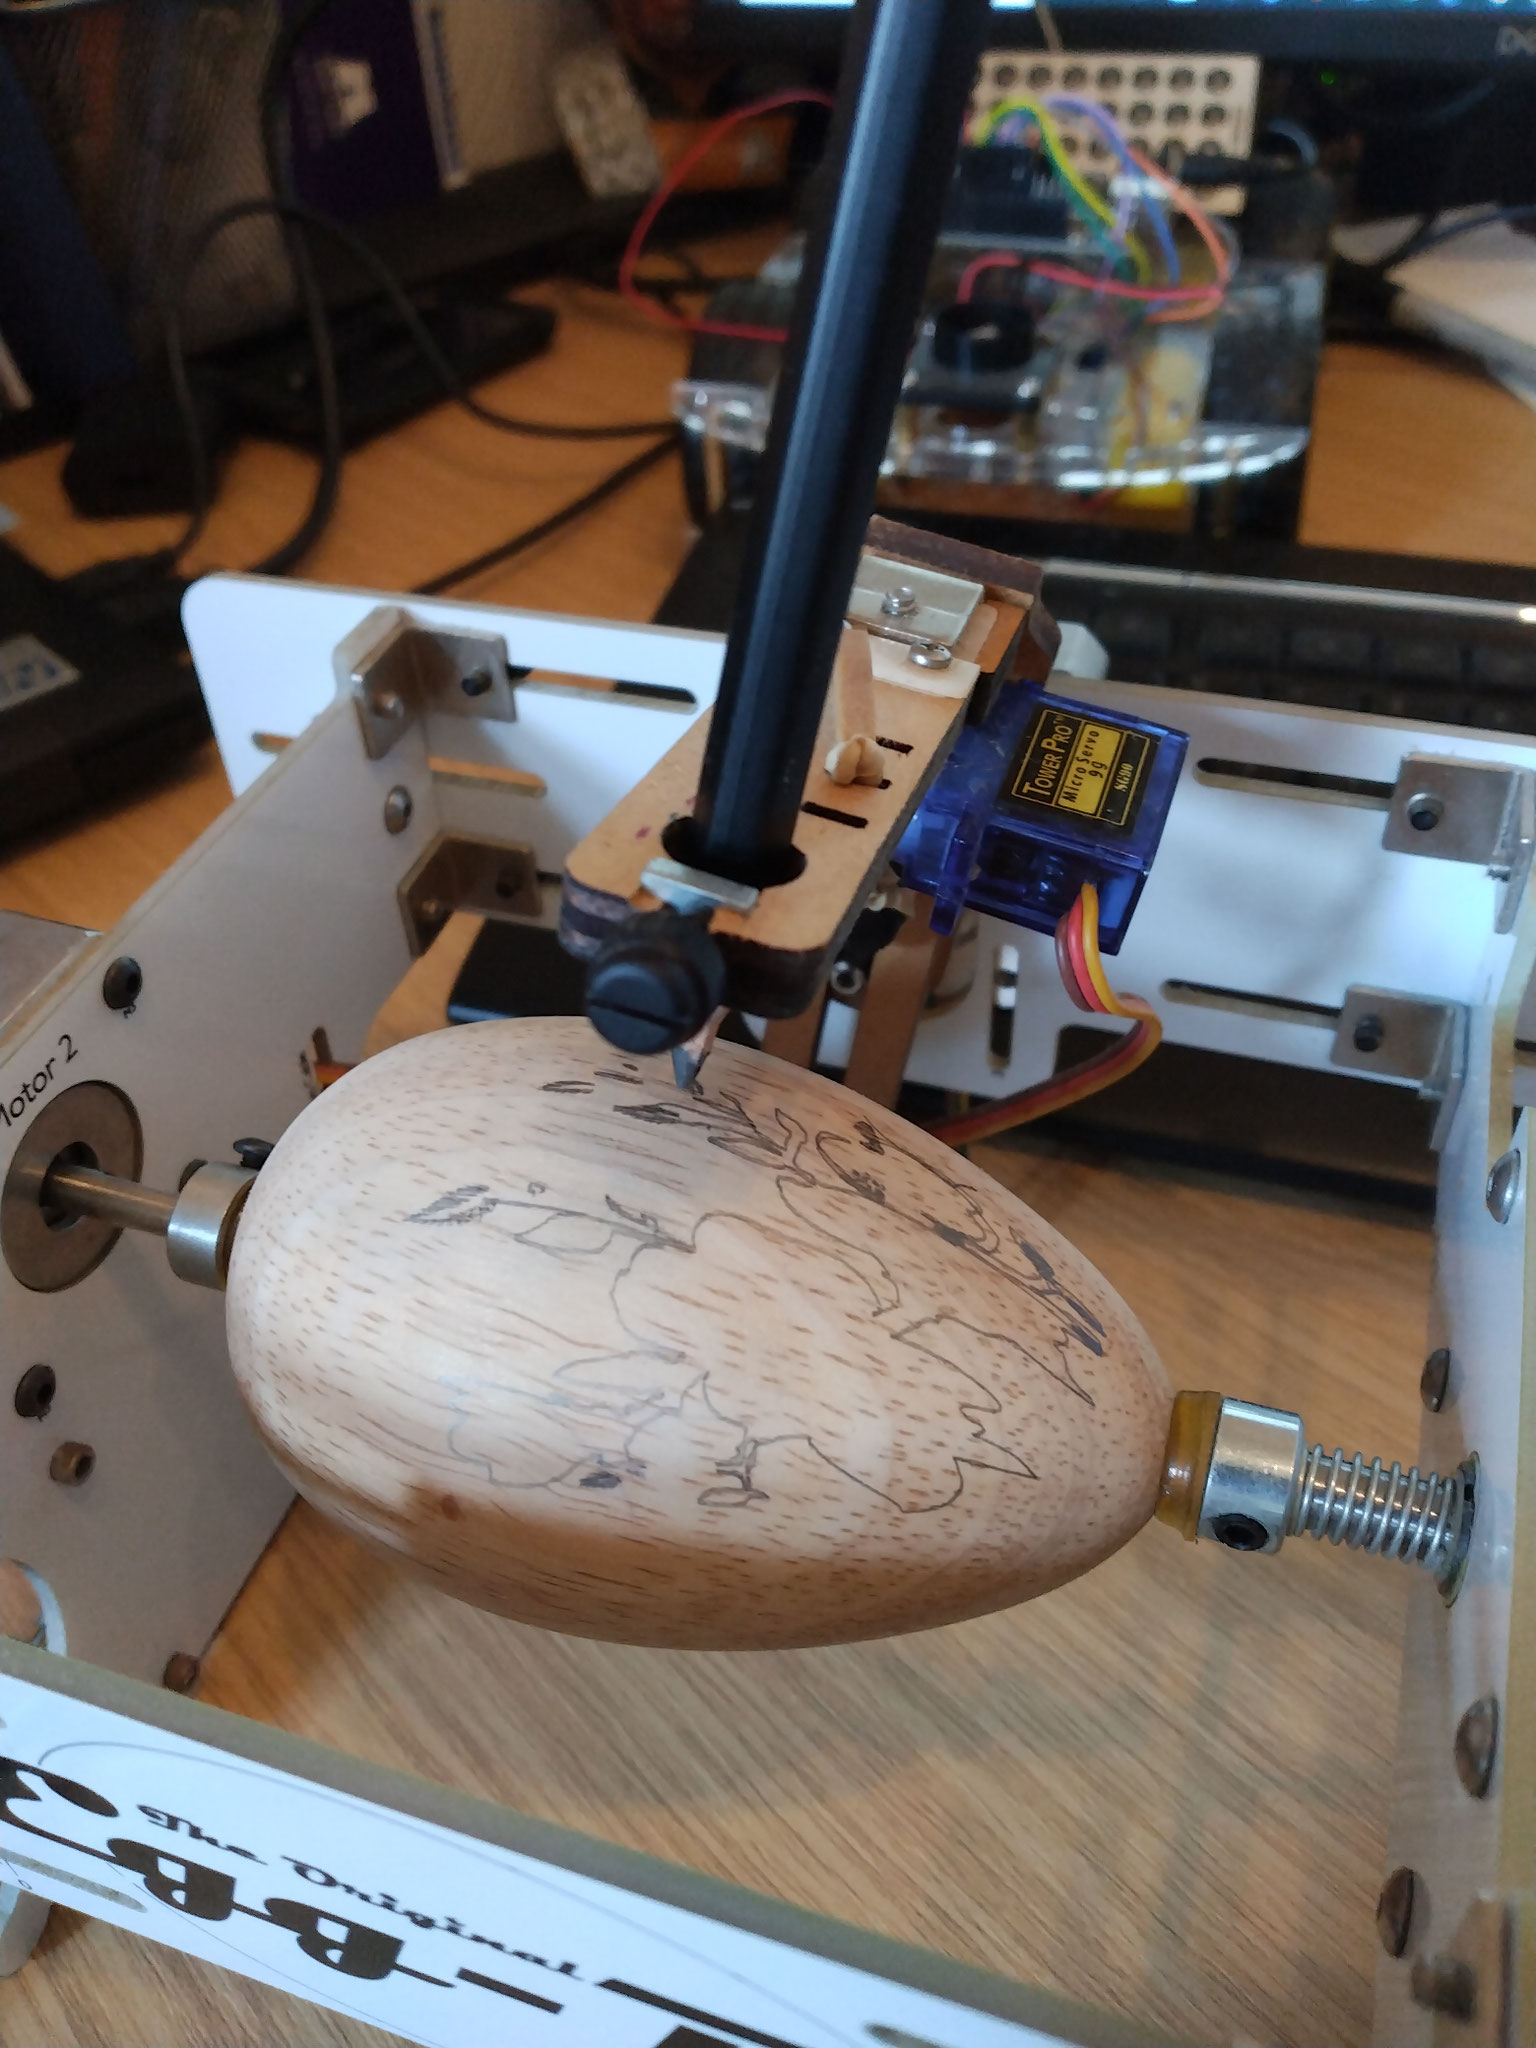
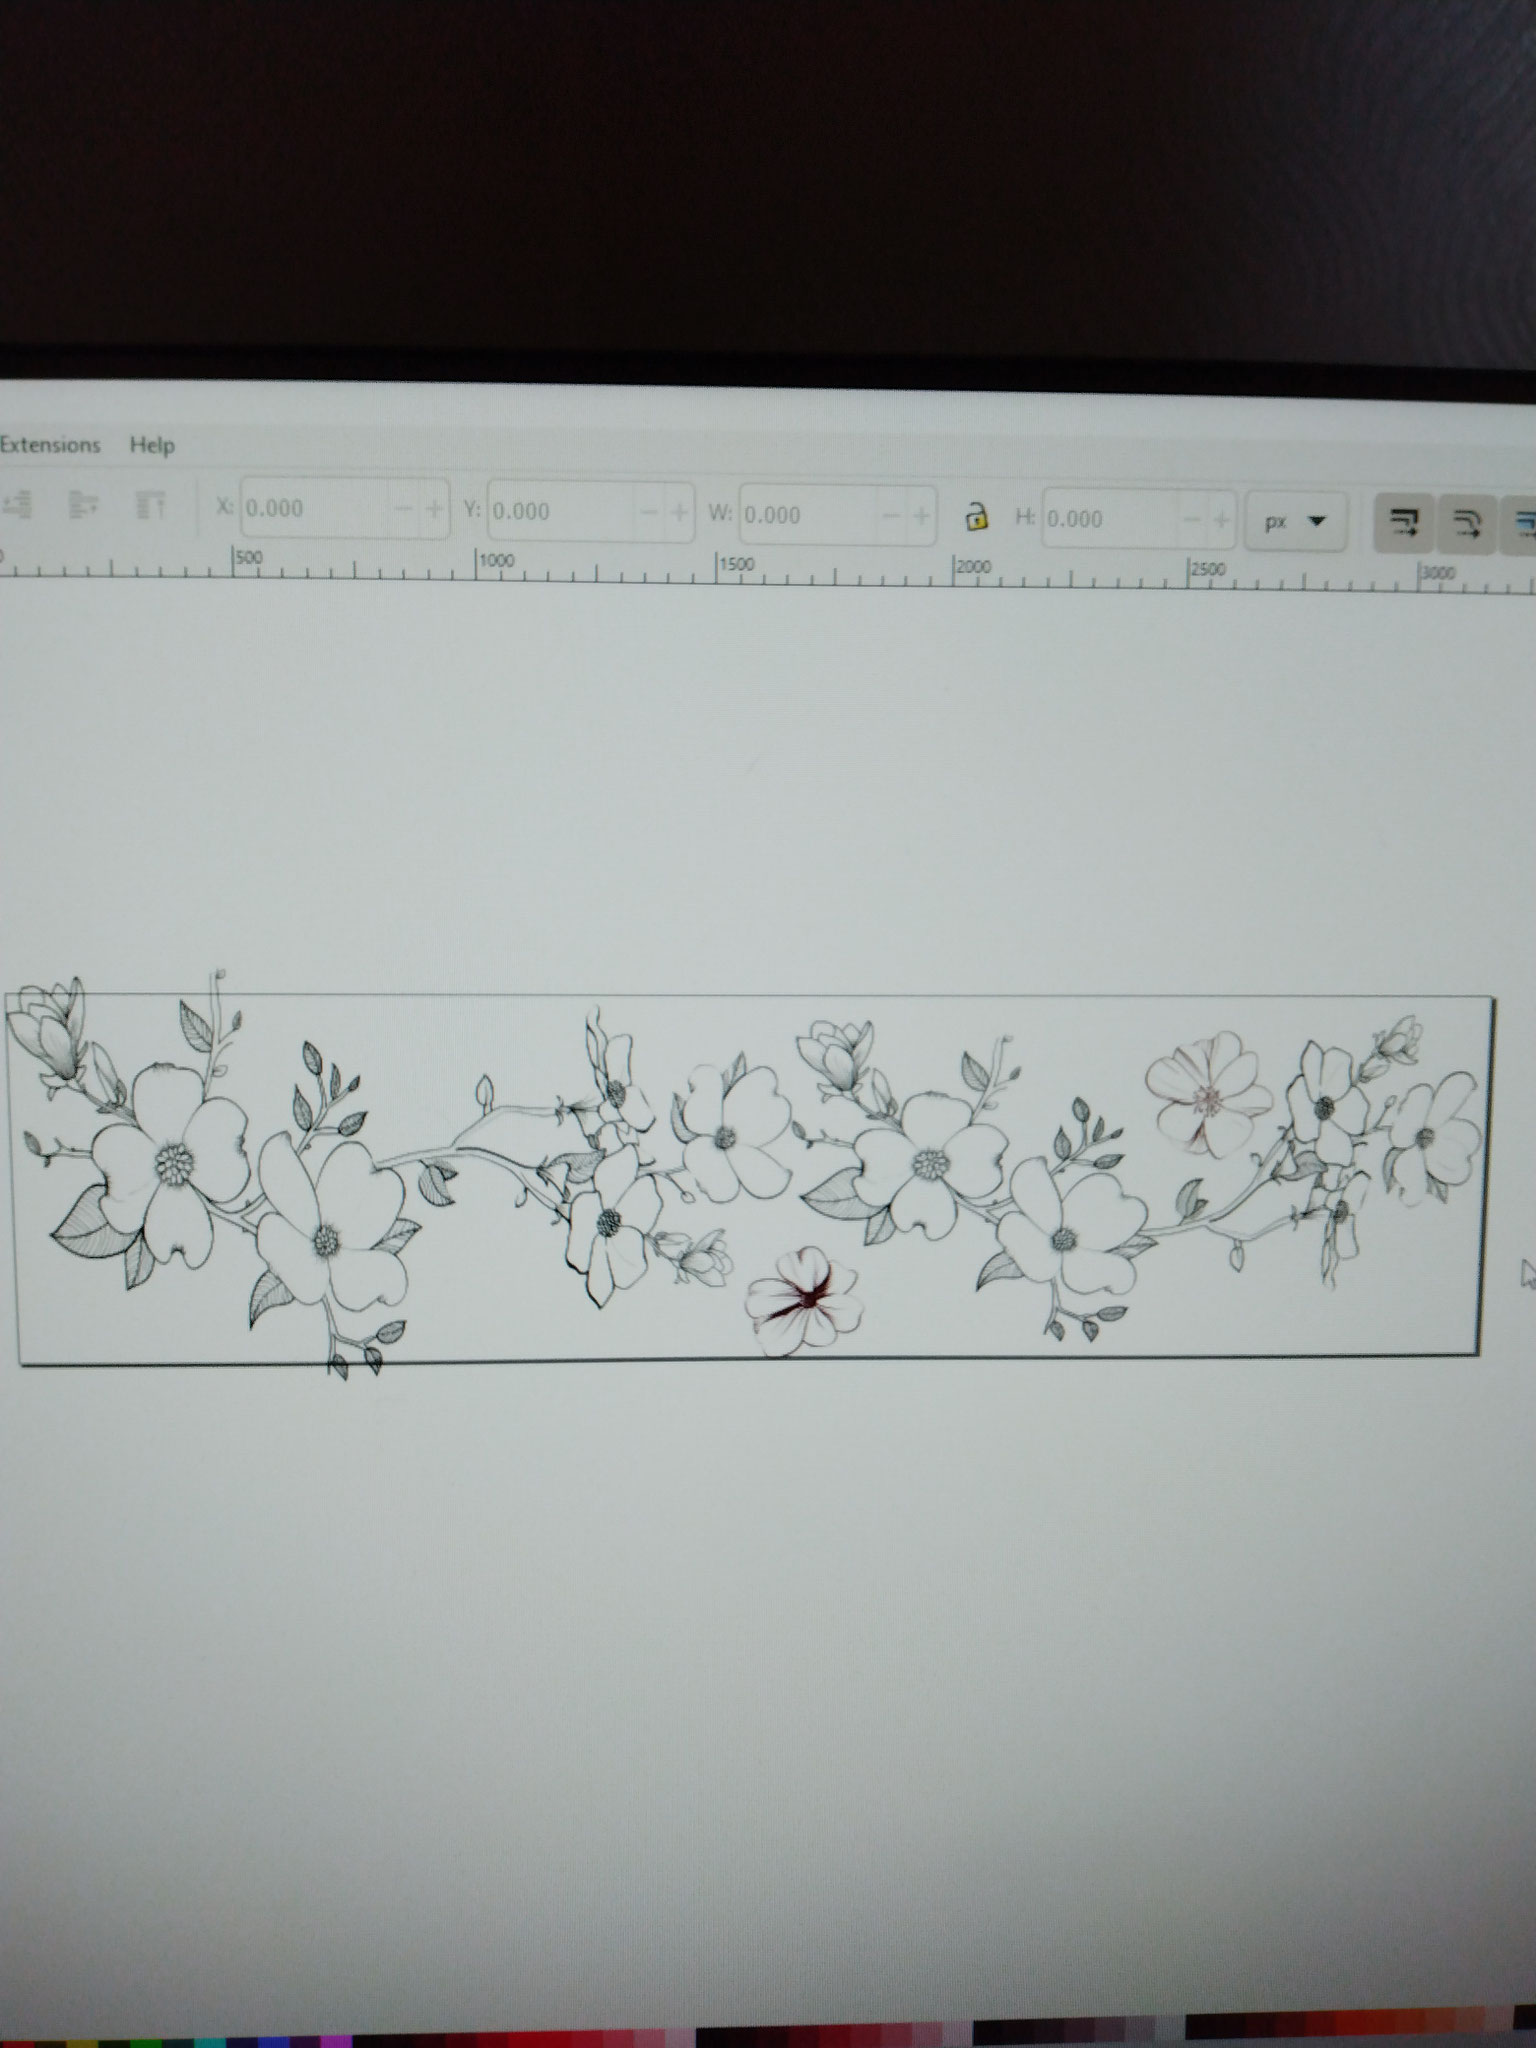
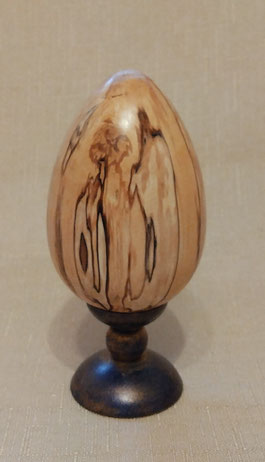
The finished egg was sanded and polished on the lathe prior to parting it off, with the parted end finished with a little sanding and buffing off the lathe. To decorate the egg I have something called an Egg-Bot. A small CNC drawing machine which can be used to put images into small round oval and egg shaped objects. The software used for the images is called InkScape and is free to download it also has extensions for controlling the Egg-bot (also free download). Using this you can take virtually any image and apply it to the object in the machine.
The one I used was made up from repeating flowers and vines. It was applied using a pencil, however I found that the polished surface was too smooth for this so I had to sand the egg with 230 grit Abranet. Once the image was there I used pyrography to burnt it in place and then coloured it using iridescent paints